How to Beat Bosses in Kin and Conquest
Floor guardians, difficulties, and run prep
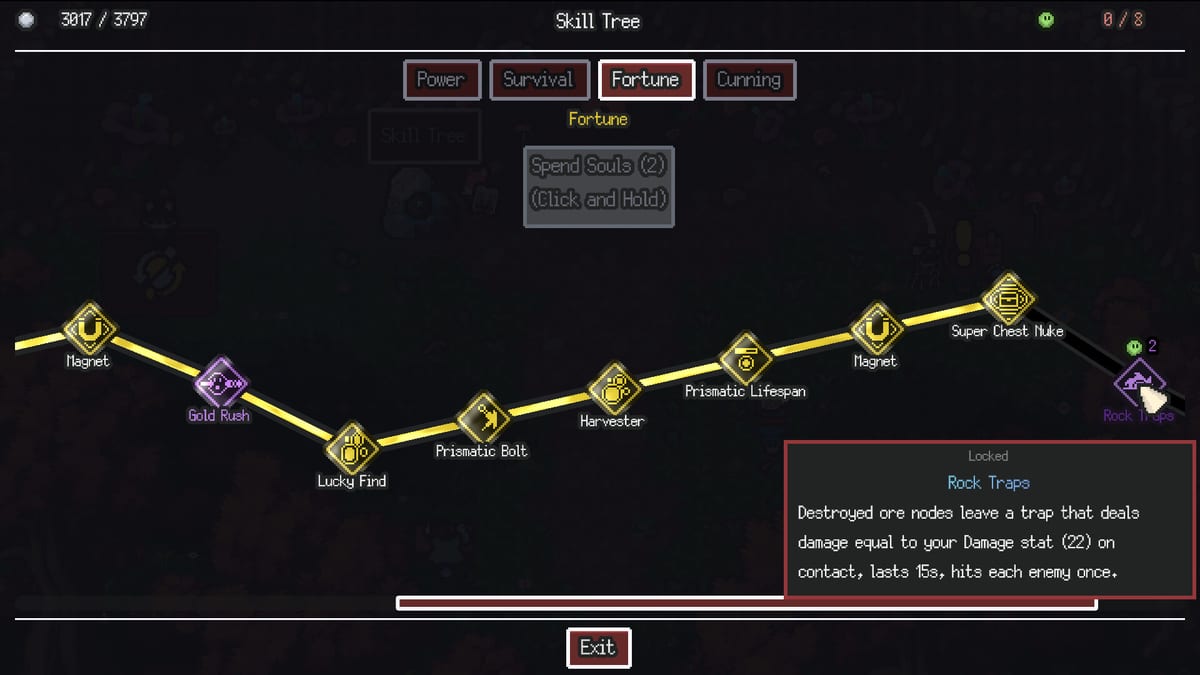
Boss fights in Kin and Conquest arrive as floor guardians—major encounters gating descent to deeper mountain levels and eventually the confrontation with the Evil Geomancer. These guardians test whether your Blessings, weapon upgrades, skill nodes, and resource habits from normal rooms translate into sustained damage and survival. This guide explains guardian structure, difficulty modifiers, prep checklists, and recovery when a attempt fails.
Use it after Combat Basics, Mining, and Totems so prep steps make sense in context.
Floor guardians versus trash packs
Trash enemies teach proximity spacing and mining tempo. Guardians compress those lessons into longer health bars, wider telegraphs, and phase patterns that punish face-tanking. Boss enemies on higher difficulties do not always follow the same speed rules as normal mobs—patch notes specify that non-boss enemies move faster on elevated difficulties while boss speed may stay tuned separately for fair reads.
Guardian names and exact patterns vary by floor. Approach each guardian as a durability check: can your current weapon tier, Blessing core, and defensive nodes survive while you maintain damage uptime?
Difficulty selection
The run select menu lists difficulties with hover breakdowns showing what changes—commonly faster non-boss movement and sharper economic pressure. Normal is the learning tier for first clears. Higher difficulties reward players who already understand guardian pacing and mine efficiently on prior floors.
Push difficulty only when:
- You cleared the guardian on Normal at least once.
- Weapon upgrades match or exceed floor expectations from the upgrades guide.
- You enter with coins for a post-failure upgrade or respec.
Rushing Hard variants without recipes for the current floor recreates the pre-balance spike demos suffered—less mandatory now, still unpleasant without gear.
Pre-guardian checklist
Before entering a guardian room, confirm:
- Weapon level — floor-appropriate recipe crafted or upgraded when available.
- Blessing core — at least one clear damage Blessing and one stability option (defense, healing, or crowd control depending on offers).
- Skill nodes — meaningful purchases in Survival or Cunning, not scattered one-point dabbling unless testing.
- Coins in reserve — buffer for shop buys or respec if the guardian drops new gear requirements.
- Totem plan — golden totems saved; auto-movement disabled if accidental activation is likely.
- Movement mode — manual control for telegraph-heavy fights if auto-follow caused issues in prior rooms.
Combat strategy during guardians
Apply the three-beat proximity loop from Combat Basics: approach, strike window, disengage. Guardians widen telegraphs, so disengage earlier than you would on trash mobs.
Watch for add spawns or arena hazards that overlap with totem tiles. Kill explosive adds first if they appear—guardian fights plus Ferret Exploder pressure compound quickly.
Blessings such as Chain Lightning help cleave adds if they cluster; ensure the blessing has procced once before the guardian if first-use preload hitches concern you on your hardware.
Survival versus Cunning for bosses
Survival paths help guardians wear you down over time: shields, thorns scaling with damage, absorb retention, and burst resets like Indomitable Spirit for emergency recovery. Choose Survival when you know patterns but die to attrition.
Cunning paths shorten fight duration via haste, movement speed, and offensive proc nodes—Gale Runner style haste extensions matter when you must dodge repeatedly. Choose Cunning when you survive early but hit enrage-style timers or phase transitions.
Respec costs coins; mine an extra room on the floor instead of guessing wrong twice.
Using totems on guardians
Activate standard totems when the arena is clear before aggro if buff duration covers the opening phase. Save golden totems for mid-fight crises—unexpected add waves or phase shifts—not for the trash pack outside the door.
If a totem sits on the guardian landing after a floor transition, move off the tile before auto pathing triggers it; see Totems for golden waste prevention.
When you fail a guardian
Failure returns you to the progression loop with knowledge:
- Note which attack killed you—spacing fix, upgrade fix, or Blessing fix?
- Mine prior-floor rooms for coins if upgrades were unaffordable.
- Craft or upgrade weapons tied to that floor before retrying.
- Lower difficulty temporarily to finish the clear and unlock systems if a hard gate blocks fun.
Early community reports mentioned crashes when claiming rewards from specific guardian clears on certain browsers; the downloadable Steam and itch.io builds are the supported path post-1.0 release.
Multi-floor progression toward the Evil Geomancer
Kin and Conquest structures the mountain as stacked floors—demo eras included at least three floors with deeper content expanding toward 1.0. Each guardian unlocks deeper systems, weapon tiers including Books and Staffs on later progression, and harder enemy mixes.
Treat each guardian as a milestone: clear, upgrade, adjust Blessings on the next run, then push the next floor. The Evil Geomancer remains the narrative endpoint conjuring fiends across the mountain; gear and skill mastery from guardian clears prepares that final ascent.
Weapon considerations
Consult the Weapons tier list for archetype strengths. Melee weapons demand tighter spacing; Books and Staffs extend range at different cadences. Switching weapons costs progression time—commit to an upgrade path before the guardian unless a floor recipe clearly counters the boss mechanic.
Practice route for one guardian
- Clear the floor on Normal while mining at least one full room of ore.
- Upgrade weapon once and buy two skill nodes.
- Disable auto mode; enter guardian with one totem held.
- Record whether you died to telegraphs, adds, or raw health—adjust only one variable on retry.
Related guides
Economy: Mining. Spacing: Combat Basics. Totems: Totems. Gear: Weapons hub. Full index: Guides hub.
Frequently Asked Questions
Quick answers for Kin and Conquest players.
Who are the bosses in Kin and Conquest?
Each major floor ends with a guardian encounter. The overarching goal is reaching and defeating the Evil Geomancer who controls the mountain.
Do difficulties affect boss fights?
Higher difficulties mainly speed up non-boss enemies per patch notes. Boss tuning may differ—hover difficulty tooltips before selecting.
What should I upgrade before a guardian?
Prioritize floor-appropriate weapon upgrades, a coherent Blessing core, and key Survival or Cunning nodes funded by mining coins.
When should I use golden totems on bosses?
Save golden totems for guardian phases or emergencies, not trash packs or accidental floor-transition spawns.
Why can't I damage the boss enough?
You may need a floor-matched weapon recipe or upgrade. See [weapon upgrades](/weapons/upgrades/) and mine more before retrying.
How many floors are in Kin and Conquest?
Floor count expands through updates toward the full 1.0 mountain climb. Expect multiple guardians before the Evil Geomancer finale.